beginnersbook.com

  • Home
  • All Tutorials
    • Learn Servlet
    • Learn JSP
    • Learn JSTL
    • Learn C
    • Learn C++
    • Learn MongoDB
    • Learn XML
    • Learn Python
    • Learn Perl
    • Learn Kotlin
  • Core Java
  • OOPs
  • Collections
  • Java I/O
  • JSON
  • DBMS

How to configure Apache Tomcat Server in Eclipse IDE

By Chaitanya Singh | Filed Under: JSP tutorial

To run JSP  in Eclipse, you need a Server. In this tutorial we will see how to download and configure Apache tomcat server in Eclipse IDE.

Step 1: Download
Go to this link: http://tomcat.apache.org/download-80.cgi. If you are on Mac then click the zip file (first option under core). If you are on Windows then you have two options, 32 bit and 64 bit, depending on your operating system type click on the zip file, for example if you are on 64 bit windows then click on the 64-bit Windows zip.
Apache Tomcat Download location

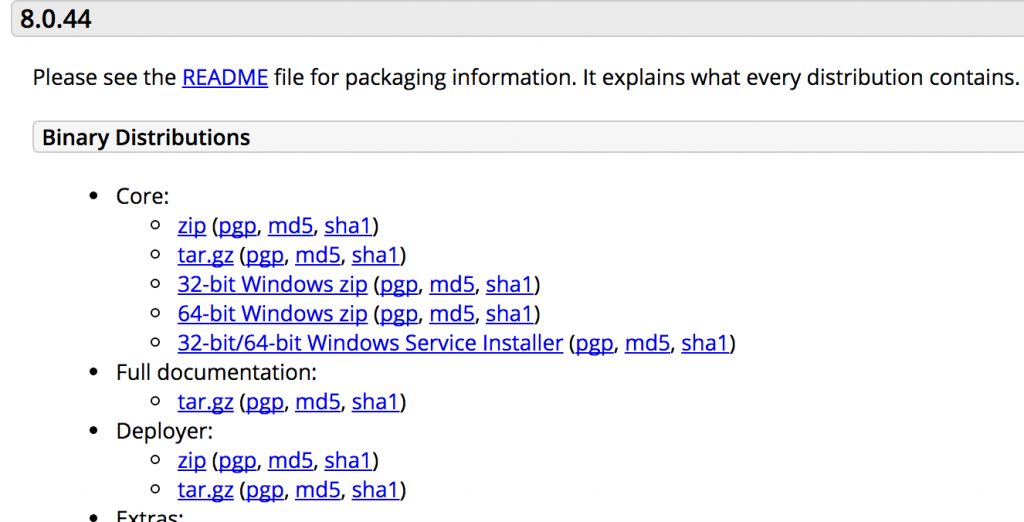
In this tutorial, I’m downloading Apache tomcat version 8.0.44

Step 2: Extract the downloaded zip folder
Extract the zipped folder to any desired location.

Step 3: Select the Server in Eclipse IDE
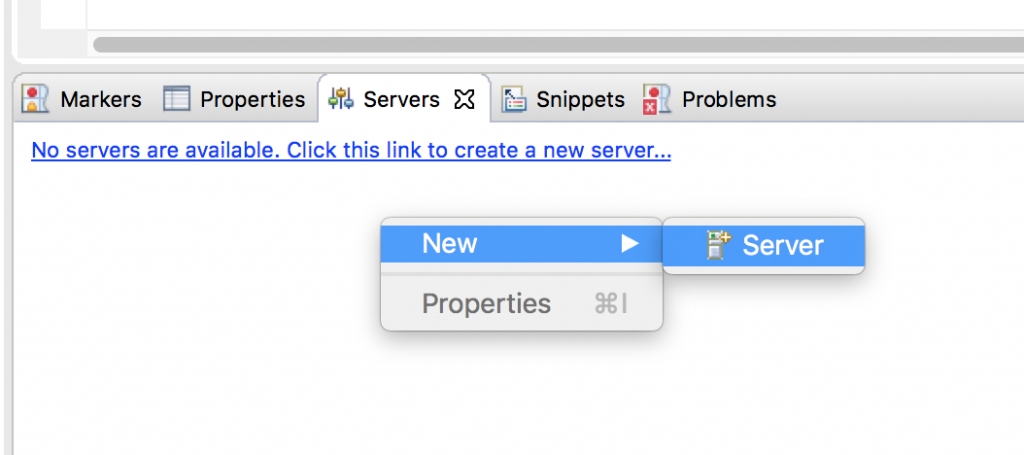
Open Eclipse IDE ❯ Click on the Servers tab located at the bottom ❯ right click ❯ New ❯ click on Server
configuring_tomcat_server_in_Eclipse_IDE

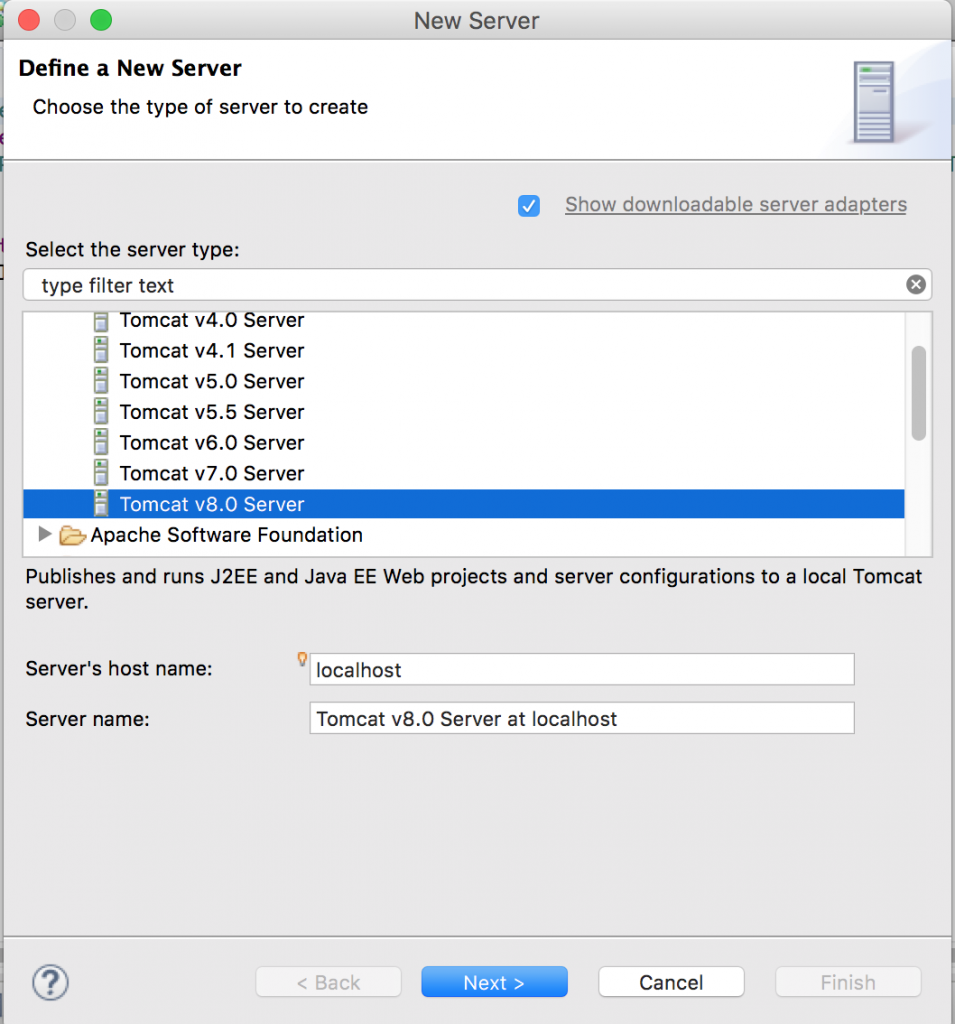
Select Apache and then select the appropriate version of tomcat server, for example, I’ve downloaded the tomcat version 8.0.44 so I’m selecting Tomcat v8.0 Server. After selecting, click next.

If you don’t see the apache option in the add server list that means you are missing few adapters in Eclipse, refer this tutorial to fix the issue: How to fix “no apache tomcat adapter in Eclipse” issue

configuring_tomcat_server_in_Eclipse_IDE_2

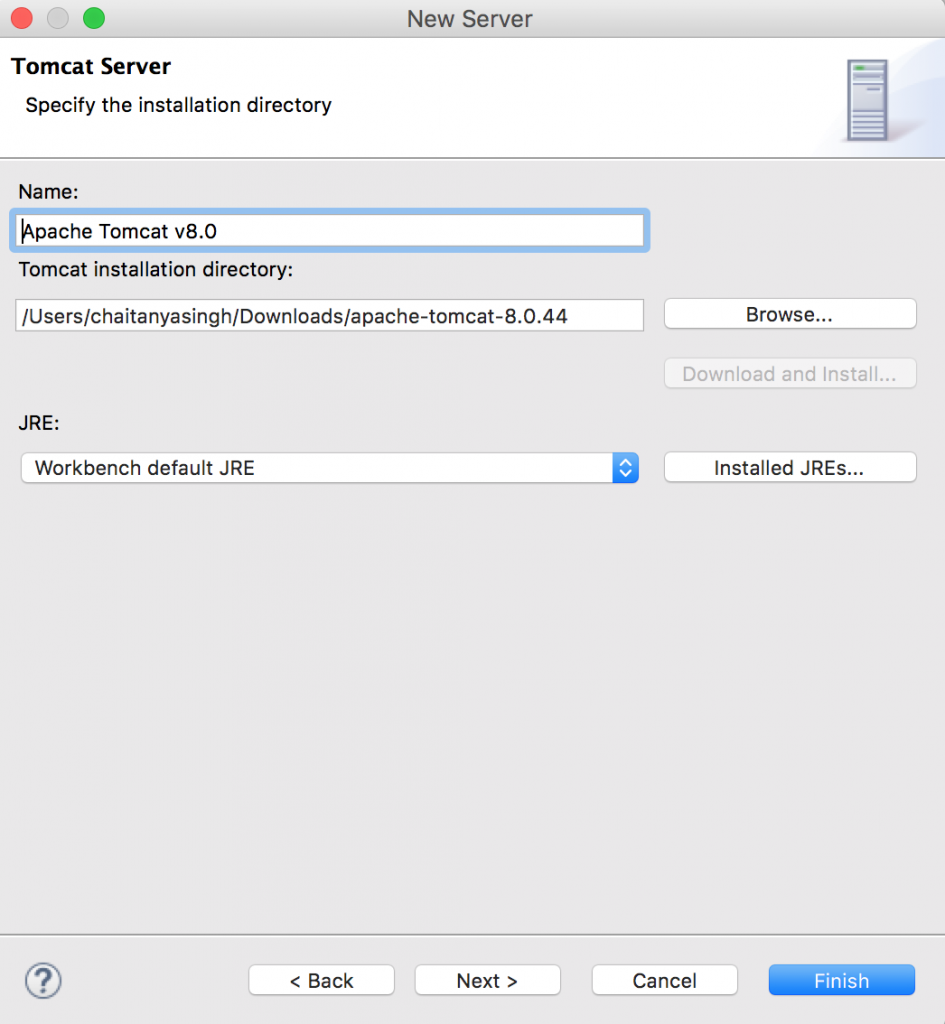
You will be presented with a window as shown in the image below. Click browse and select the the folder that you have extracted from the zip file in Step 2.
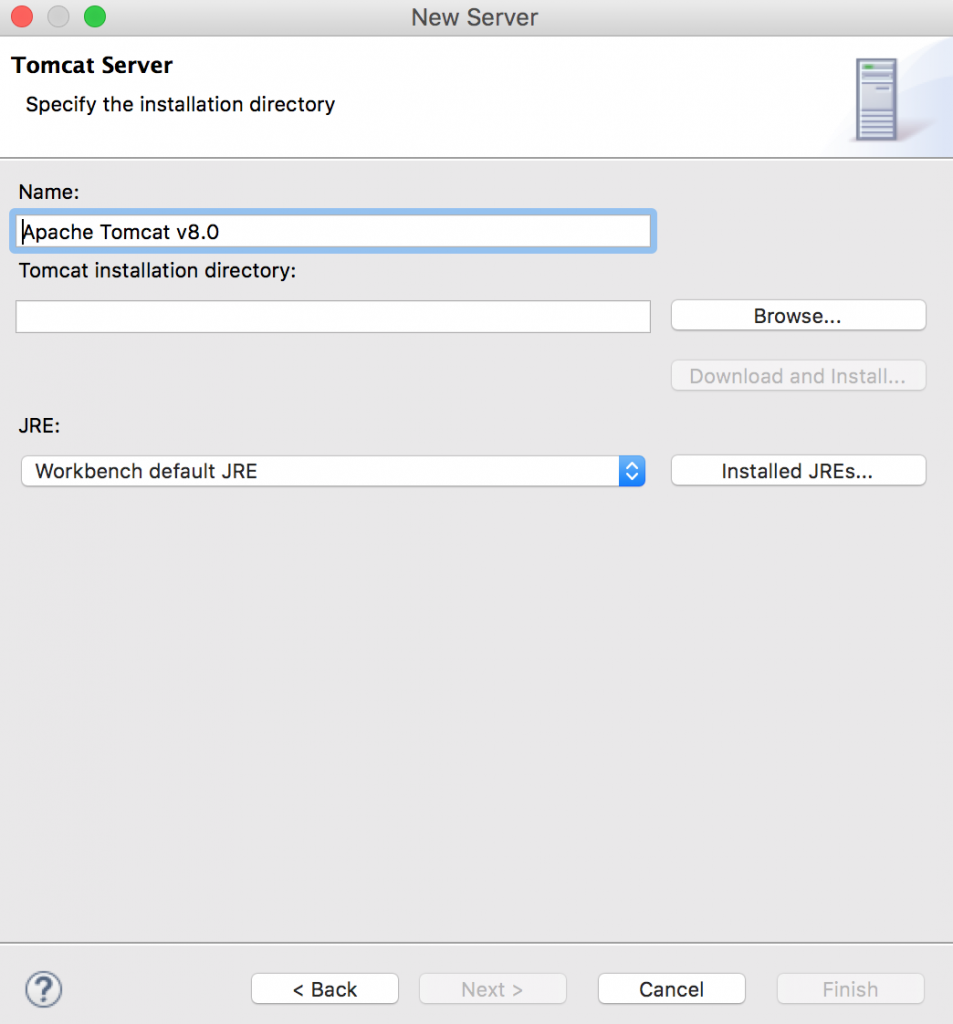
configuring_tomcat_server_in_Eclipse_IDE_3

Click finish.
Browse_Downloaded_Tomcat_dir

That’s it you have successfully configured the tomcat server in Eclipse, you can now run the JSP in Eclipse.

Enjoyed this post? Try these related posts

  1. JSP Scriptlets
  2. Session Implicit Object in JSP with examples
  3. How to run JSP in Eclipse IDE using Apache Tomcat Server
  4. JSP Expression Tag – JSP Tutorial
  5. JSP Expression Language (EL) – JSP Tutorial
  6. Introduction to Java Server Pages – JSP Tutorial

Leave a Reply Cancel reply

Your email address will not be published. Required fields are marked *

JSP Tutorial

  • Basics of JSP
  • Life cycle of JSP
  • JSP in Eclipse IDE
  • Declaration tag
  • Expression tag
  • Scriptlets
  • Directives
  • Include Directive
  • Param Directive
  • Exception handling
  • Action tags
  • Include action
  • Forward action
  • useBean, setProperty & getProperty
  • Implicit Objects
  • Session implicit object
  • Validate session
  • Request implicit object
  • Response implicit object
  • Out implicit object
  • Application implicit object
  • Config implicit object
  • pageContext implicit object
  • Exception implicit object
  • Expression language
  • Custom Tags
  • Custom tag example
  • JSP Interview Q

Recently Added..

  • JSON Tutorial
  • Java Regular Expressions Tutorial
  • Java Enum Tutorial
  • Java Annotations Tutorial

Copyright © 2012 – 2021 BeginnersBook . Privacy Policy . Sitemap