In this tutorial, you will learn how to create a simple JSP file and run it on Eclipse IDE using Apache Tomcat Server.
Step 1: In order to run JSP in Eclipse IDE, you need to have Apache tomcat Server configured in Eclipse IDE.
If you don’t have it installed, then refer this tutorial: How to download and configure Apache Tomcat Server in Eclipse IDE.
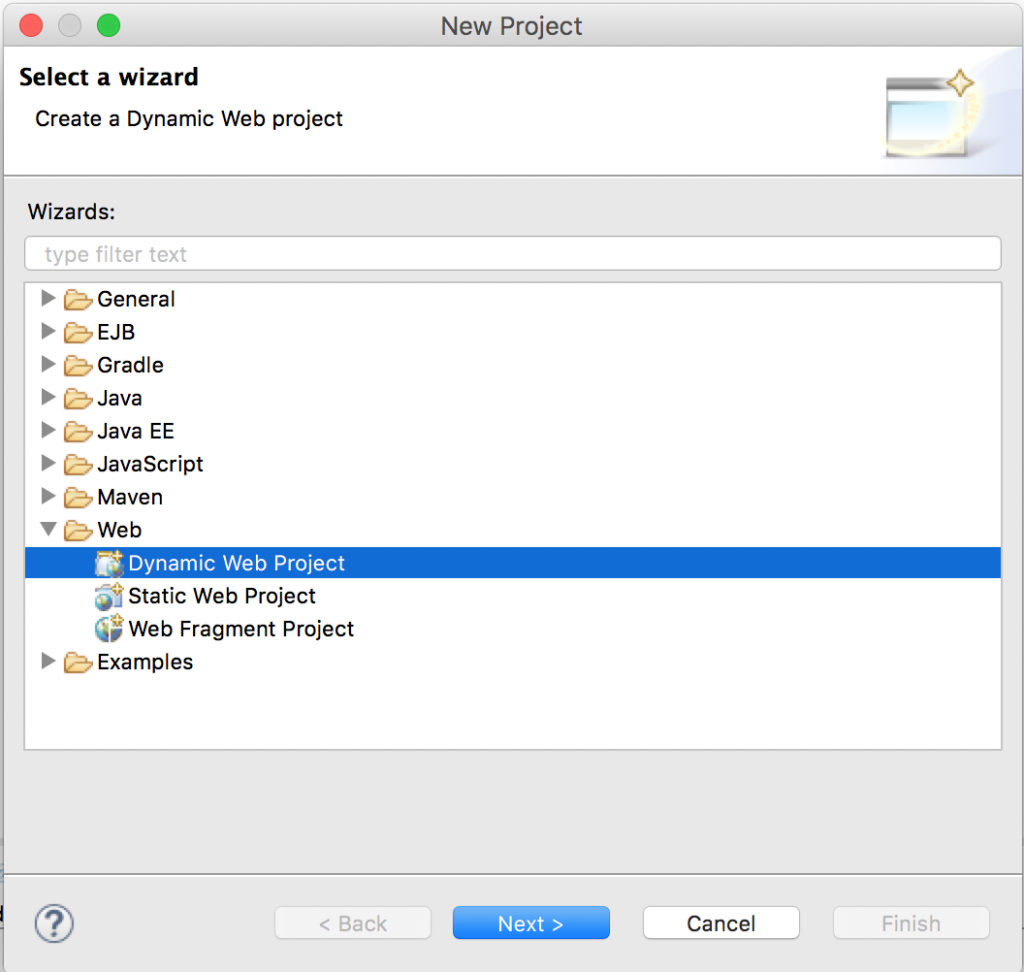
Step 2: Open Eclipse and then click File ❯ New ❯ Click Project

Click on Dynamic Web Project located under Web.
If you do not see dynamic web project option in Eclipse then refer this tutorial: How to fix “Dynamic Web project” missing in Eclipse issue
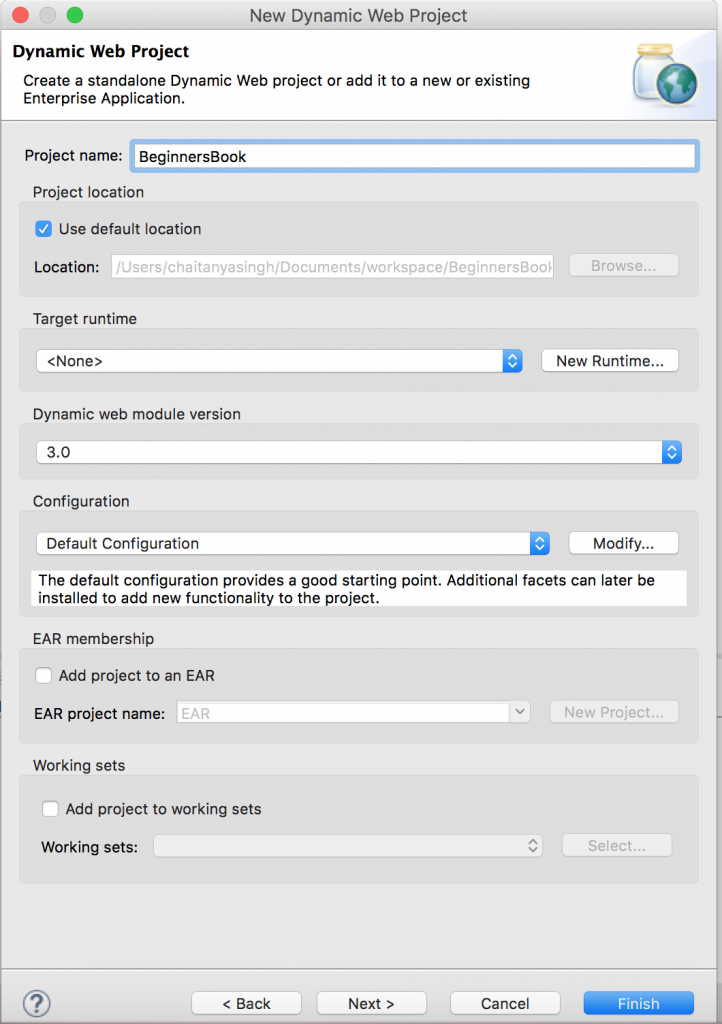
Give a Project name and click Finish. For my project I’m giving the project name as “BeginnersBook”.
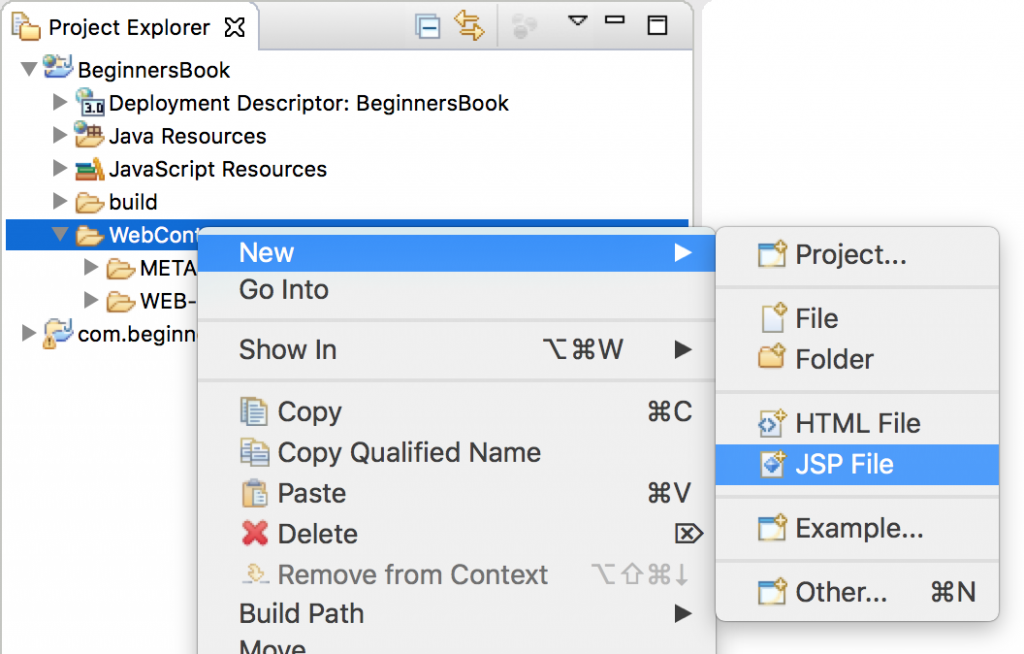
Step 3: Create a JSP file. Right click on the WebContent ❯ New ❯ Click on JSP File
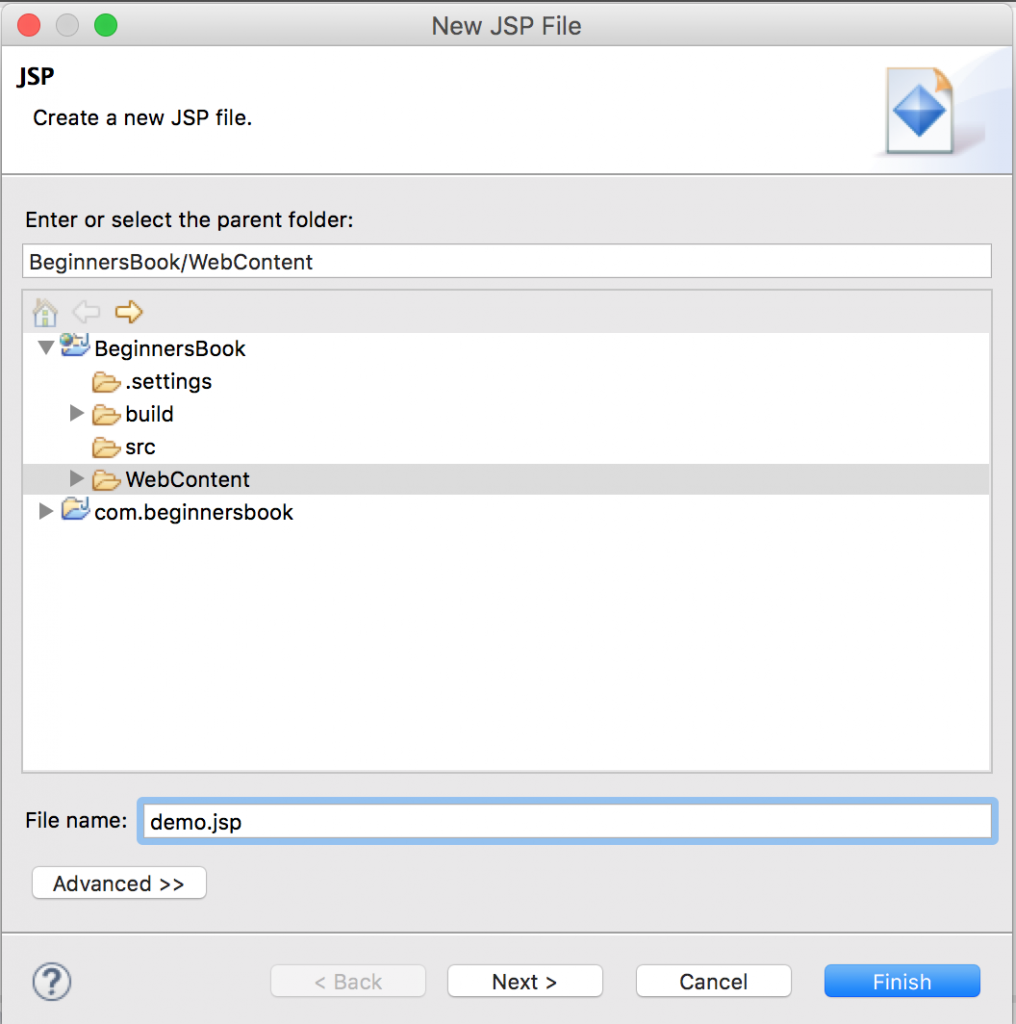
Enter file name and click Finish. In this screenshot I am giving the JSP file name as “demo.jsp”.
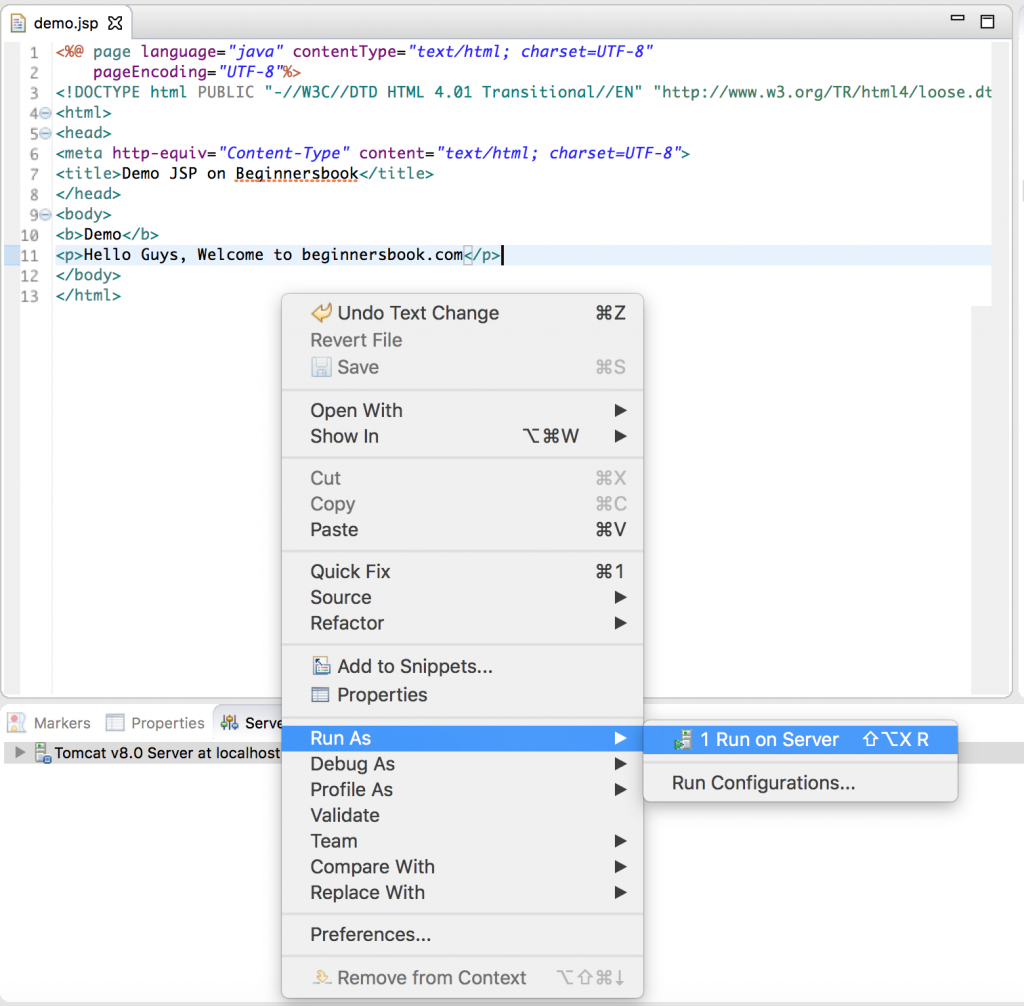
Step 4: Write some JSP code.
If you get this warning “The superclass “javax.servlet.http.HttpServlet” was not found on the Java Build Path” then refer this tutorial: How to fix javax.servlet.http.HttpServlet was not found error in Eclipse.
Step 5: Run the JSP project. Right click on your JSP project ❯ Run as ❯ Click on “Run on Server”.
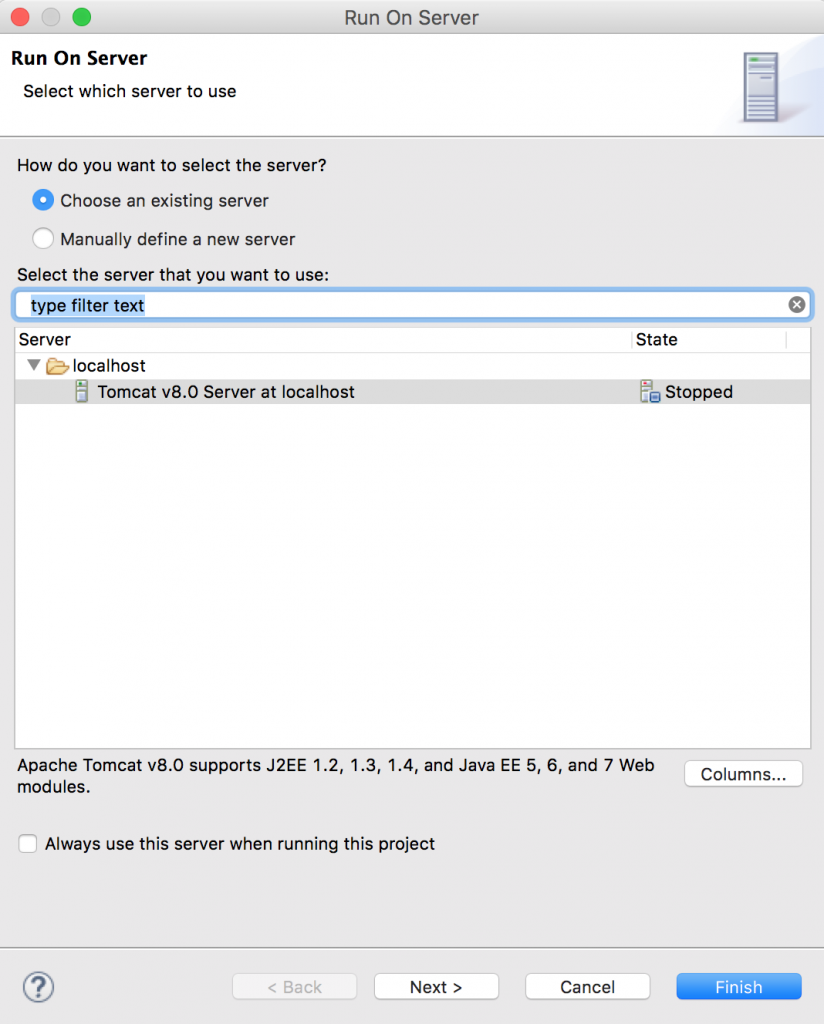
Select the Server and click next.
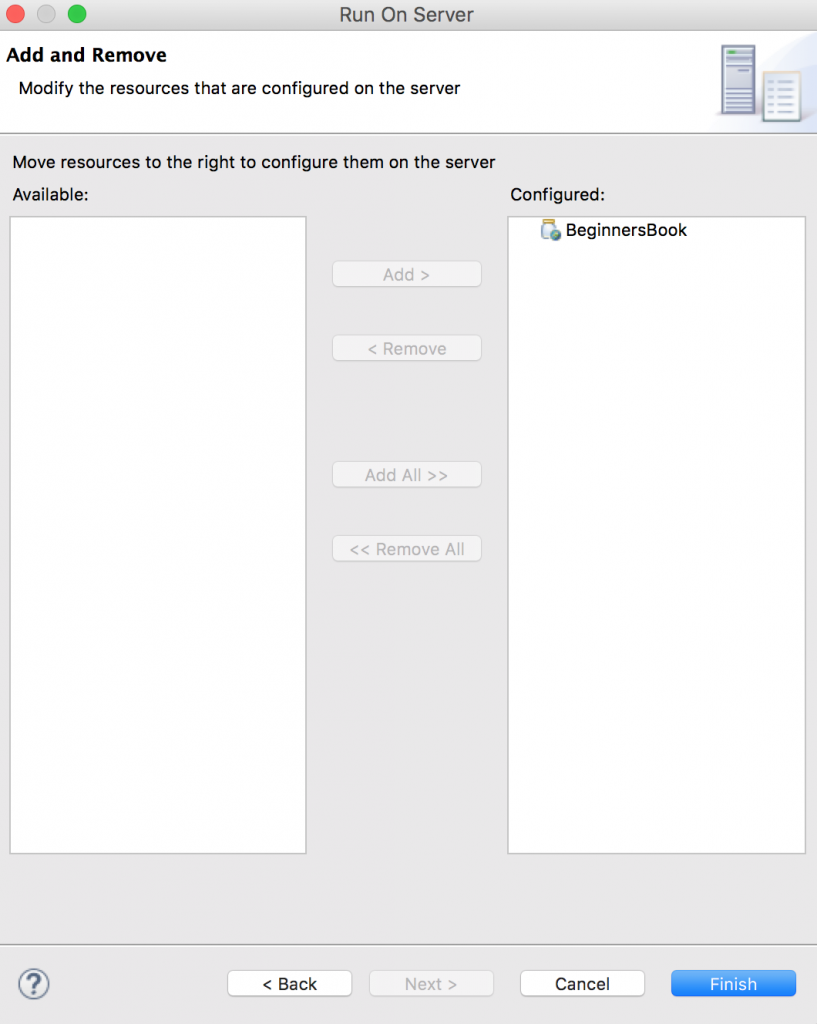
Click on Add All ❯ Click Finish
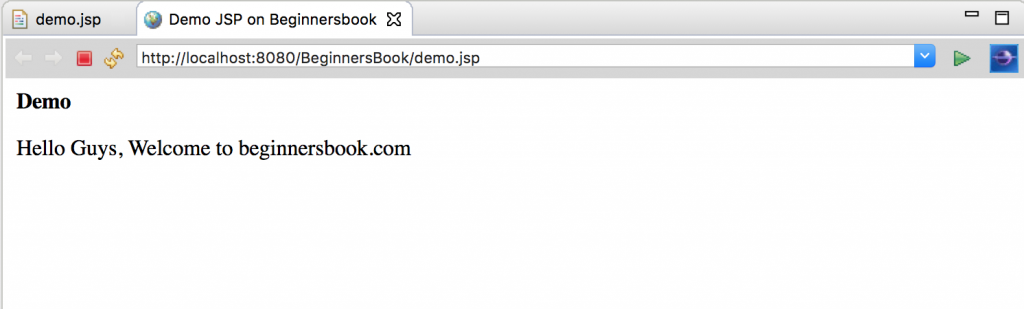
You will see the output of your JSP page in the next window. If you want you can copy the url ://localhost:8080/BeginnersBook/demo.jsp and paste it in your browser, you will see the same output.
Leave a Reply