In this tutorial, we will learn how to install eclipse IDE on Mac OS X. Eclipse IDE (Integrated development environment) is written in Java and mostly used for developing Java applications. In Eclipse IDE, you can write, compile and run your Java code.
Download and install Eclipse
1) To download Eclipse IDE, copy the link http://www.eclipse.org/downloads/ into you browser and hit enter.
2) Out of all the listed options, we need to install “Eclipse IDE for java developers”. Click the 64 bit download link as shown in the image below.
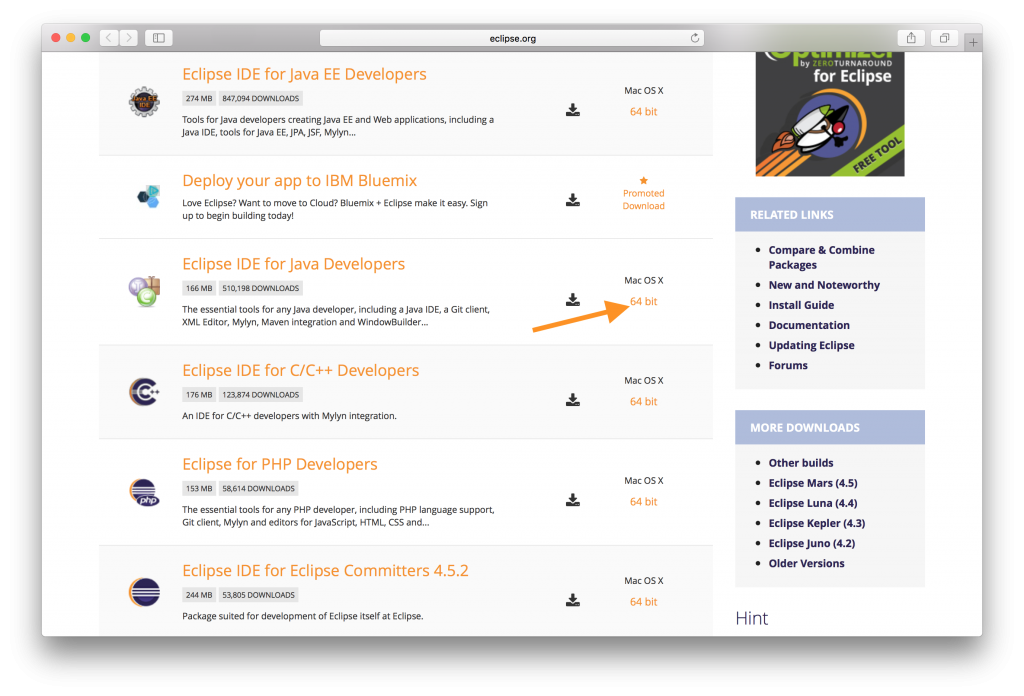
3) Upon clicking the 64 bit option, you would be redirected to a download page where you can choose the server nearest to you so that you can download faster. Simply click download button at the left panel as shown below. Your download will start automatically.
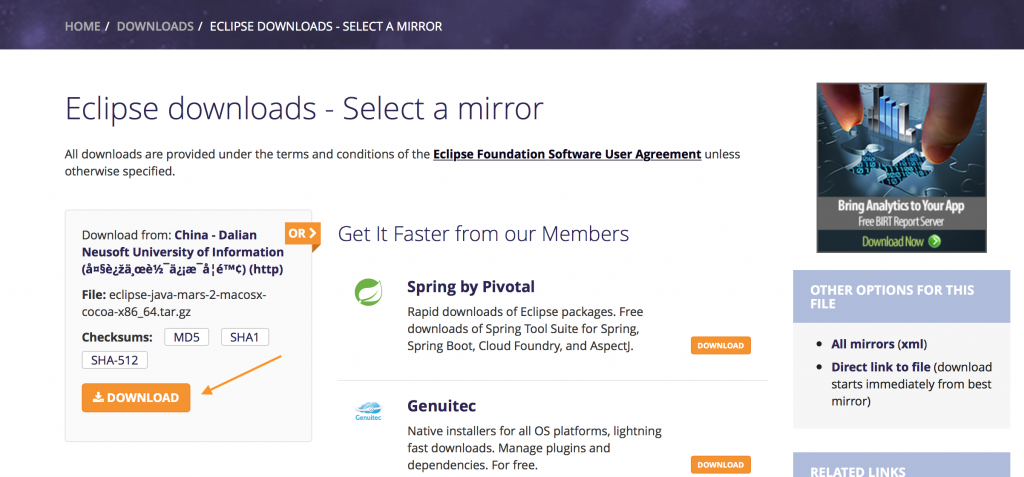
4) Once the download is done. Go to the download folder, you would find a file named “eclipse-java-mars-2-macosx-cocoa-x86_64.tar” (the file name may be different based on the version you download but it should be a tar file starting with word eclipse).
5) Drag the zipped file to the desktop and double click to open it. The file would be unzipped with default archive utility and you would find a eclipse icon on desktop. Open finder, select applications and then drag the eclipse icon from desktop the the application folder in finder.
6) Installation is done, you can now launch the eclipse by clicking the icon in applications. Alternatively, you can drag the icon from applications to the dock so that you can launch it directly from the desktop.
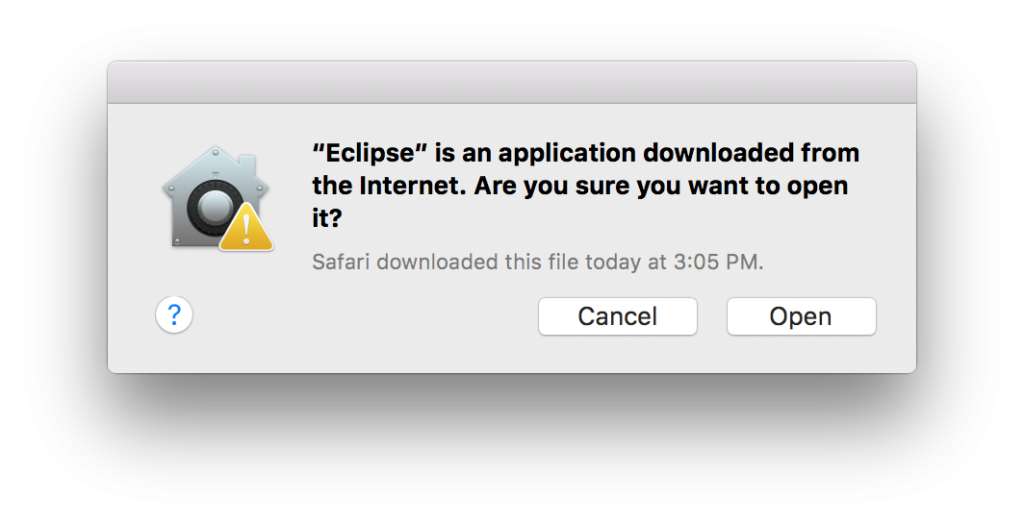
7) The first time you launch the application, you would get the following warning, just click “open”.
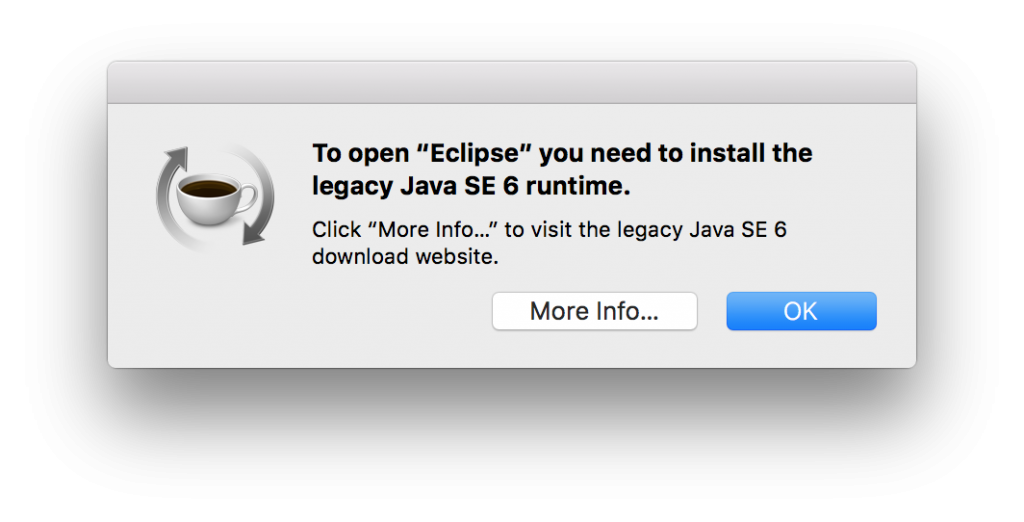
8) The next pop up would have a message “To open eclipse you need to install the legacy Java SE 6 runtime”. The pop up would look like this. Click ok.
9) Go to the link http://www.oracle.com/technetwork/java/javase/downloads/jdk7-downloads-1880260.html the page would look like the below screenshot. Accept License Agreement and download the file mapped to Mac OS X x64. In my case it is “jdk-7u79-macosx-x64.dmg”, you may find it different based on the java version you are trying to install.
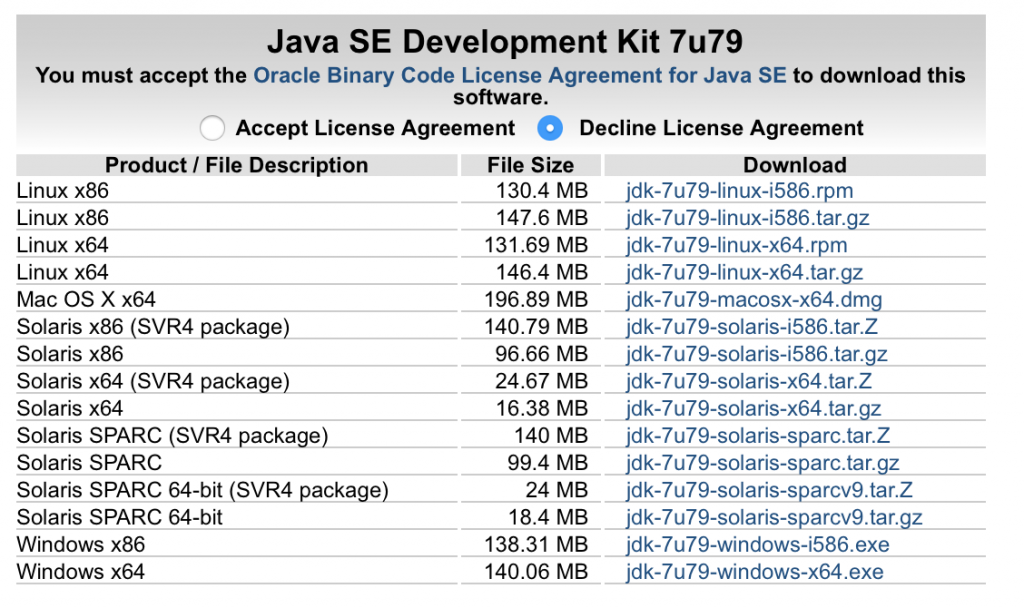
10) Once the download is complete, run the file and follow the installation instruction.
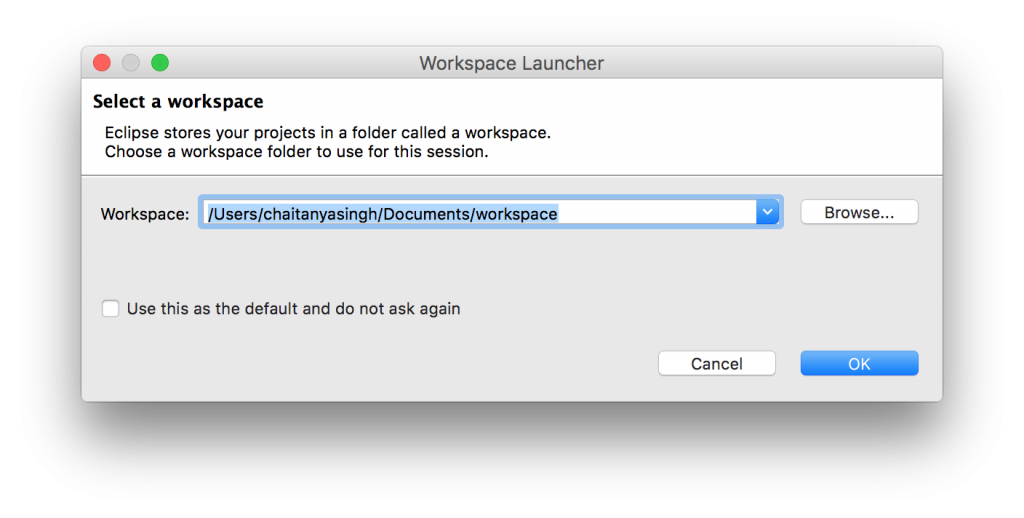
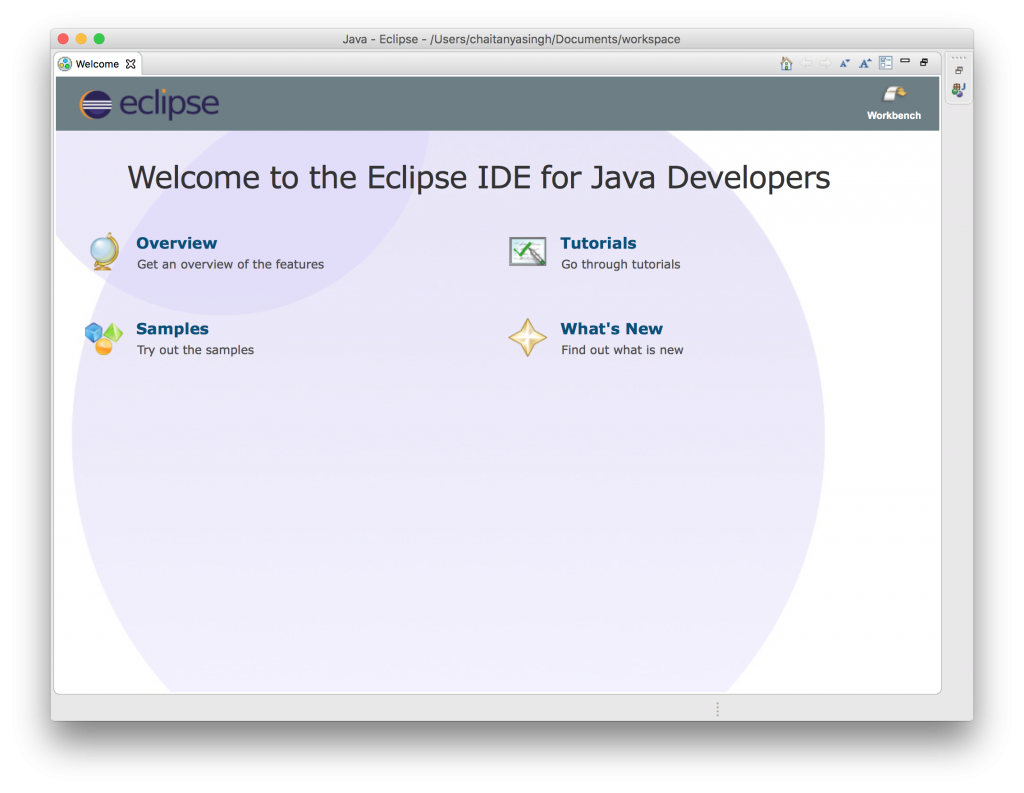
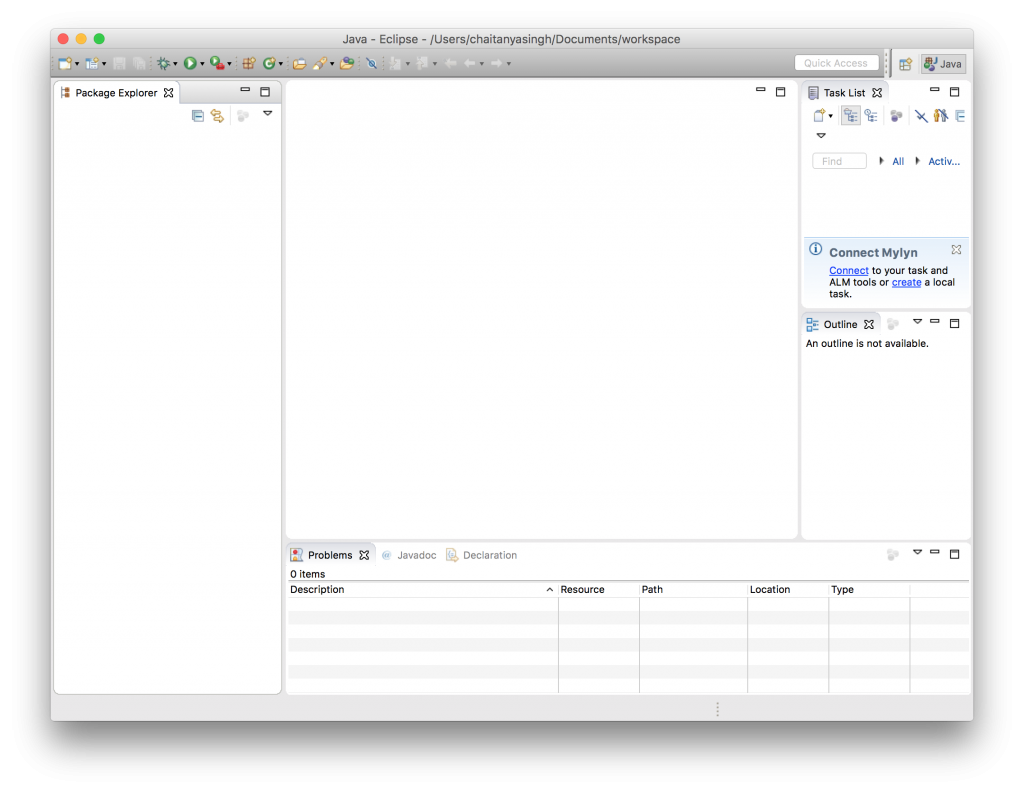
11) Once installation is done, open the Eclipse, it should run fine now. The welcome window would look similar to the one shown below. Click Workbench at the top right corner.
Maggie says
Thank you very much for this tutorial. It helped me a lot and saved my time after reading so many entires at various forums.
Many thanx
manu says
I’m new user on Macbook please guide me how to create dynamic web project
in eclipse? It’s not showing up.
Chaitanya Singh says
Hey Manu, Refer this: https://beginnersbook.com/2017/06/how-to-fix-dynamic-web-project-missing-in-eclipse-issue/
Arita says
Hi! Great tutorial! But I have and problem when I try to open eclipse. I get to the part of selecting a workspace, but then it shows me an error saying that there’s a problem with the .log. I’ve tried almost everything, uninstall and install everything again, different versions of java… i don’t know what else I can do :(